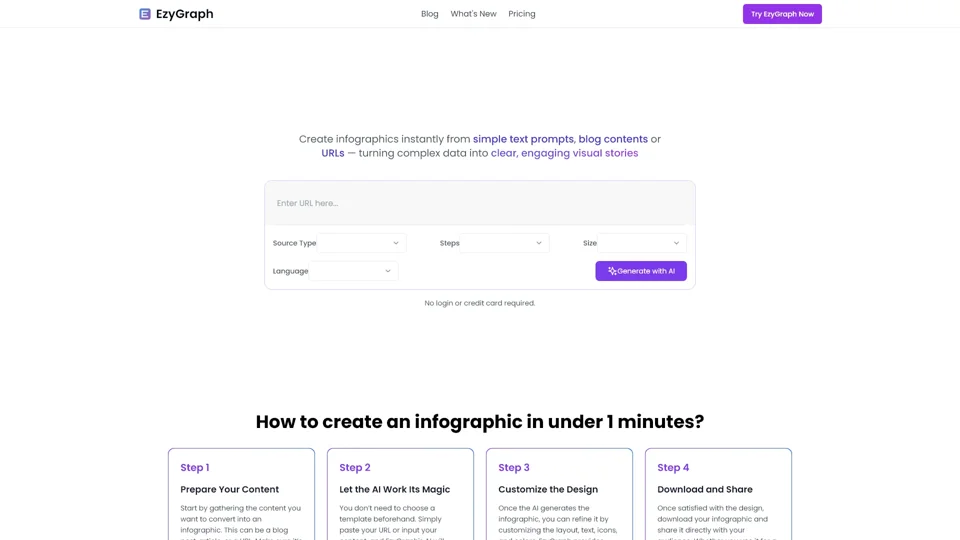
How to Create an Infographic Using EzyGraph
-
Prepare Your Content
-
Gather Information: Start by compiling the content you wish to visualize. This could be a blog post, article, or even a URL.
-
Keep It Focused: Ensure your content is concise and centered around key points for clarity.
-
-
Let EzyGraph Work Its Magic
-
Input Your Content: Alternatively, paste your URL into EzyGraph. The AI will analyze your content and generate a structured infographic draft based on the main ideas.
-
Automatic Icon Matching: EzyGraph's AI intuitively selects relevant icons from its extensive library to enhance visual appeal and consistency.
-
-
Customize Your Design
-
Tailor the Layout: Adjust the layout, colors, fonts, and text to align with your personal or brand style. EzyGraph's editor is user-friendly, catering to both novices and design professionals.
-
Use Custom Templates: For consistency, create and save your own templates to maintain a uniform look across all visuals.
-
-
Download and Share
-
Export Options: Once satisfied, download your infographic in the appropriate file format. EzyGraph supports high-quality exports suitable for various platforms.
-
Share Effectively: Distribute your infographic across blogs, social media, presentations, and more to engage your audience effectively.
-
Tips for Success
-
Design Considerations: Choose colors and fonts that resonate with your audience and enhance readability.
-
Plan Options: Consider EzyGraph’s subscription plans for increased features, such as premium templates and faster processing times.
Conclusion
EzyGraph transforms content creation by offering a quick, intelligent way to craft stunning infographics. Whether you're a blogger, marketer, or educator, EzyGraph's tools can elevate your visual content. Start creating your infographic today and enjoy the benefits of enhanced engagement and professional presentation.
